
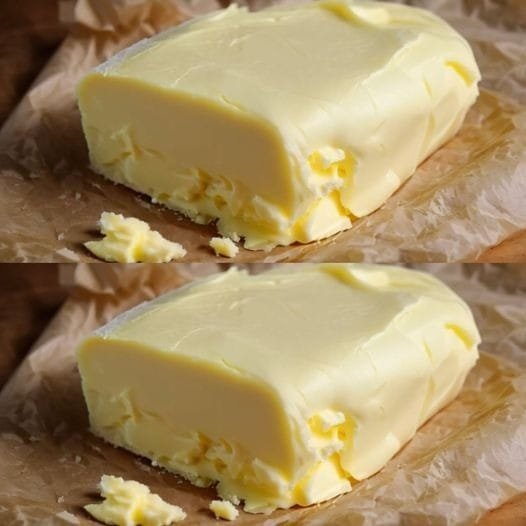
How to Make Homemade Butter 🧈
Making butter at home is a simple, fun process that requires only one ingredient: heavy cream. This homemade butter is richer and fresher than store-bought versions and can be customized with added flavors like garlic, herbs, or honey. It’s perfect for spreading on toast, baking, or even as a thoughtful homemade gift.
Why Make Your Own Butter?
- Healthier Choice: Homemade butter is free from preservatives and additives. You can also choose organic or grass-fed cream for an extra boost of nutrition.
- Cost-Effective: Buying heavy cream in bulk is economical, making it a budget-friendly alternative to store-bought butter.
- Unmatched Freshness: You get rich, creamy butter with a taste that’s far superior to mass-produced versions.
Ingredients:
- 2 cups heavy cream (organic or grass-fed preferred)
How to Make Homemade Butter:
- Prepare the Cream:
Pour the cold heavy cream into the bowl of a stand mixer, food processor, or a large mixing bowl if using a hand mixer. - Whip the Cream:
Start whipping the cream on medium speed. Initially, the cream will thicken into whipped cream. Keep whipping beyond this stage until the butter begins to form. - Separate the Butter:
After about 10 minutes, you’ll notice the cream separating into solid butter and liquid buttermilk. Continue whipping until the butter clumps together, and the buttermilk pools at the bottom. - Drain the Buttermilk:
Strain the buttermilk through a fine mesh strainer or cheesecloth. You can save this buttermilk for recipes like pancakes or biscuits! - Rinse the Butter:
Place the butter in a bowl, and pour cold water over it. Use a spatula or your hands to press and knead the butter, removing any remaining buttermilk. Repeat the rinsing process until the water runs clear. - Knead the Butter:
To ensure the butter has a smooth texture and longer shelf life, knead it gently with a spatula or your hands to remove any leftover water. - Season (Optional):
If you prefer salted butter, now is the time to add a pinch of salt. For a more adventurous twist, try mixing in herbs, garlic, or honey for flavored butter. - Store the Butter:
Transfer the butter to an airtight container and refrigerate for up to two weeks. If you want to store it for a longer period, freezing it is a great option.
Tips for Perfect Butter:
- Cold Cream: Using cold cream helps the fat molecules solidify faster, speeding up the process.
- Tools: A stand mixer makes the process effortless, but you can also use a hand mixer, food processor, or even a jar for shaking.
- Flavor Ideas: Experiment with your own flavor combinations, like garlic butter, honey butter, or rosemary butter, for unique spreads.
Why You’ll Love Homemade Butter:
- Healthier: Free from additives and preservatives.
- Cost-Effective: A more affordable choice when buying cream in bulk.
- Versatile: Use in baking, cooking, or as a spread.
Conclusion:
Making your own butter is easy, rewarding, and yields a fresh, delicious product that enhances any meal. With just heavy cream and a bit of time, you’ll be able to create butter that’s healthier, tastier, and far superior to store-bought versions. Try making your own today and enjoy the creamy goodness of homemade butter! 🧈