
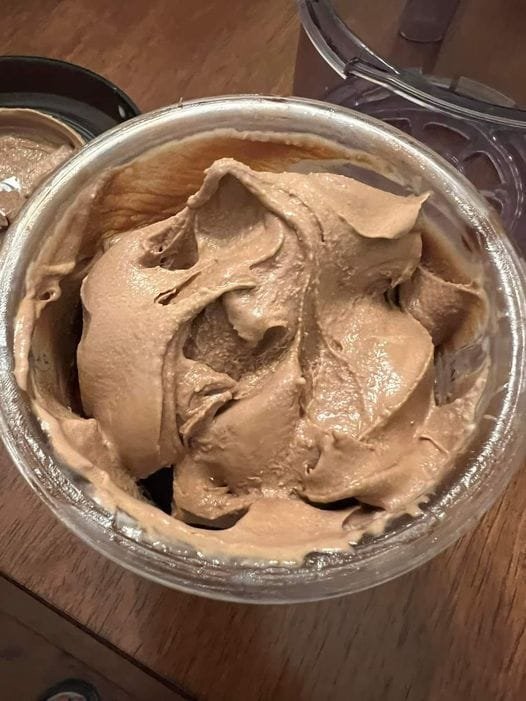
Chocolate Protein Ice Cream
Ingredients:
- 2 cups (480 ml) unsweetened almond milk (or any milk of choice)
- 2 scoops chocolate protein powder (aim for a high-quality protein powder, such as whey or plant-based)
- 2 tablespoons unsweetened cocoa powder (for extra chocolatey flavor)
- 1/4 cup Greek yogurt (preferably plain and unsweetened, adds creaminess and a protein boost)
- 1/4 cup peanut butter or almond butter (optional, but gives the ice cream a creamy texture and extra flavor)
- 1 tablespoon honey or maple syrup (for sweetness, optional depending on how sweet you like it)
- 1 teaspoon vanilla extract (adds depth to the flavor)
- Pinch of salt (enhances the sweetness and chocolate flavor)
- Ice cubes (optional, for extra thickness)
- Toppings (such as dark chocolate chips, crushed nuts, or fresh berries, optional)
Instructions:
Step 1: Prepare Your Base
Start by placing all of the ingredients into a blender or food processor. Add the almond milk, chocolate protein powder, cocoa powder, Greek yogurt, peanut butter (if using), honey (or maple syrup), vanilla extract, and a pinch of salt. Blend everything on high until smooth and creamy. The mixture should have a pudding-like consistency. If it’s too thin, add a few ice cubes to thicken it up.
Step 2: Adjust Consistency and Flavor
Taste the mixture, and if you feel it needs more sweetness, you can add a little more honey or maple syrup. If the flavor is too intense, you can balance it out with a little more almond milk or Greek yogurt. The protein powder you use can alter the flavor a bit, so don’t hesitate to tweak it to your liking.
Step 3: Freeze the Mixture
Once the mixture is smooth and well-blended, pour it into a shallow, freezer-safe container. Spread it out evenly with a spatula to ensure it freezes evenly. Place the container in the freezer for about 2-3 hours or until it has firmed up into an ice cream consistency. For an even creamier texture, you can take it out every 30 minutes to stir it for the first 2 hours.
Step 4: Serve and Enjoy
Once the ice cream is fully frozen, scoop it out and serve in bowls or cones. If the ice cream is too hard to scoop after being in the freezer for a while, let it sit at room temperature for a few minutes to soften slightly. If desired, add some toppings like chocolate chips, crushed nuts, or fresh berries for an extra treat.
Nutritional Benefits:
This Chocolate Protein Ice Cream is a perfect snack or post-workout treat since it packs around 40 grams of protein per serving (depending on the protein powder you use). It also has healthy fats from the peanut butter or almond butter and is rich in antioxidants thanks to the cocoa powder. Additionally, using Greek yogurt gives the ice cream a creamy texture while adding more protein.
Customizing Your Ice Cream:
- Vegan Option: If you’re following a vegan or dairy-free diet, simply use a plant-based protein powder and non-dairy yogurt. Coconut yogurt or cashew yogurt would work great!
- Flavors: You can add different flavor variations. For example, swirl in some peanut butter or chocolate chips for extra indulgence. You could also add a few drops of peppermint extract for a mint-chocolate protein ice cream.
Final Thoughts:
Not only is this ice cream indulgent and delicious, but it also makes for a nutritious snack or dessert. It’s a perfect way to enjoy a sweet treat while hitting your daily protein goals. Plus, it’s customizable to fit various dietary preferences, whether you’re looking for a vegan or dairy-free version. Enjoy!