
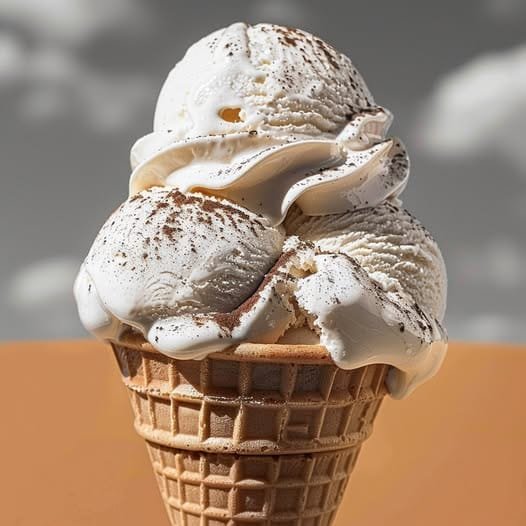
Chocolate Vanilla Ice Cream Cone Recipe
This simple yet indulgent chocolate vanilla ice cream cone is a classic treat loved by many. With just two main flavors of ice cream—creamy vanilla and rich chocolate—you can quickly satisfy your cravings for something sweet, cold, and comforting. Whether you’re enjoying a sunny day or just treating yourself, this ice cream cone is sure to hit the spot. Here’s a full recipe to make the perfect ice cream cone at home.
Ingredients:
- 1 ice cream cone (waffle cone or sugar cone, depending on your preference)
- 1 scoop of vanilla ice cream (preferably rich and creamy)
- 1 scoop of chocolate ice cream (smooth and velvety)
- Optional toppings: sprinkles, chocolate syrup, crushed nuts, or a cherry on top for extra flair
Directions:
Step 1: Prepare Your Ice Cream Cone
Start by choosing your favorite type of ice cream cone. Waffle cones tend to have a crisp texture and are quite sturdy, making them perfect for holding large scoops of ice cream. Sugar cones are a bit sweeter and have a tighter structure, offering a satisfying crunch. You can also opt for a regular cone if you prefer something more simple.
Place the cone upright on a clean surface or in a cone holder to make filling it easier. If you’re using a cone that’s already pre-packaged, ensure it is fresh and free from cracks. A well-structured cone will prevent your ice cream from melting and dripping too quickly.
Step 2: Scoop the Vanilla Ice Cream
Take a generous scoop of vanilla ice cream using an ice cream scoop or spoon. Vanilla is the foundation of this dessert, so try to get a smooth, creamy scoop with a rounded top. Gently place it into the bottom of the cone. The scoop should be large enough to fill the cone halfway, ensuring a solid base for the chocolate scoop. Press lightly to compact the ice cream and make room for the second scoop.
Step 3: Add the Chocolate Ice Cream
Next, take a scoop of rich chocolate ice cream and place it on top of the vanilla scoop. Chocolate and vanilla are a perfect pairing, with the creamy, sweet vanilla balancing the deep, slightly bitter taste of the chocolate. You can adjust the amount of chocolate ice cream based on your personal preference—some like a larger scoop of chocolate for a bolder flavor, while others may prefer a smaller amount.
Step 4: Customize Your Ice Cream Cone (Optional)
If you want to take your ice cream cone to the next level, now is the time to get creative! Add a drizzle of chocolate syrup over the top of the chocolate scoop, or sprinkle some colorful rainbow sprinkles for a fun touch. You could also add crushed nuts like almonds, peanuts, or walnuts for some crunch, or even a maraschino cherry to top it off for that classic feel.
Step 5: Enjoy!
Once your ice cream cone is assembled, it’s time to dive in. Take a bite of this sweet, creamy creation and enjoy the delightful contrast of flavors and textures between the vanilla and chocolate. Whether you’re lounging by the pool, enjoying a picnic, or simply treating yourself after a long day, this ice cream cone is the perfect indulgence.
Tips for the Best Ice Cream Cone:
- If your ice cream is too hard to scoop, let it soften for a few minutes at room temperature before serving.
- For a neat presentation, serve the ice cream immediately after scooping. If you wait too long, the ice cream may begin to melt and drip.
- Consider using a bit of parchment paper under your cone to catch any drips, especially if you’re indulging outside.
Now, with just these simple ingredients and easy steps, you’re ready to make the ultimate chocolate vanilla ice cream cone. Enjoy!